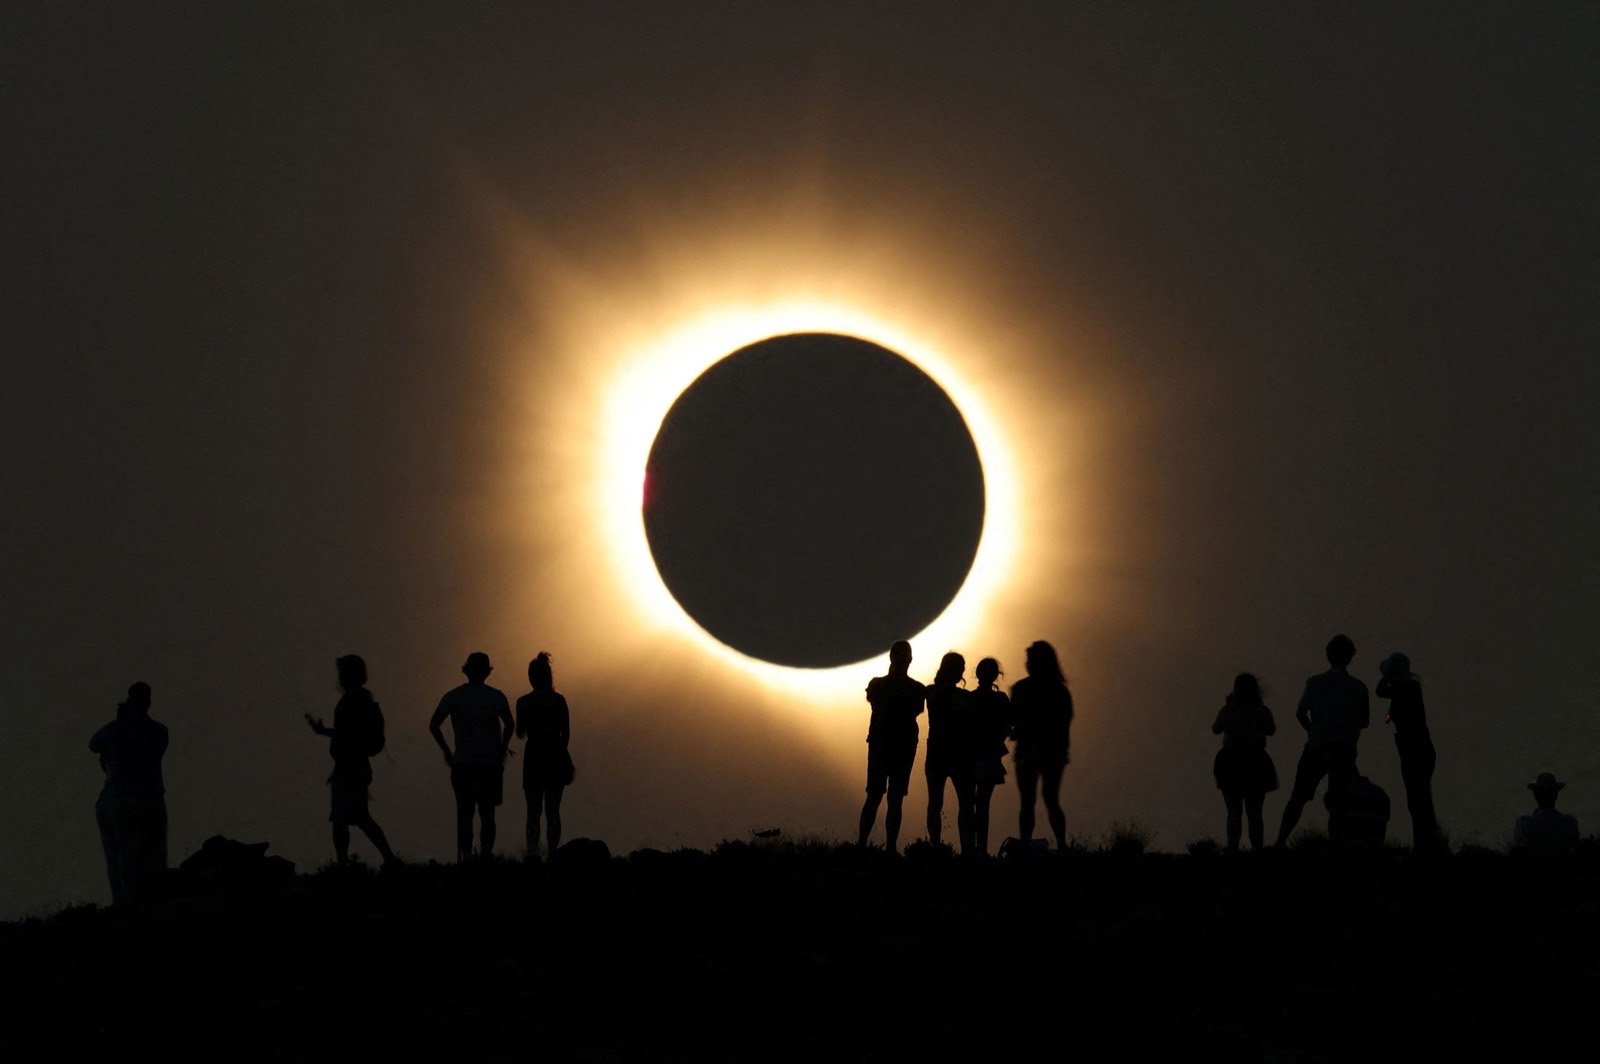
Ontem a Lua passou na frente do Sol e, por um tempo, uma faixa estreita da Terra escureceu no meio da tarde. A sombra atravessou o Ártico, a Groenlândia e a Islândia, cruzou o Atlântico e chegou ao norte da Espanha e a uma parte de Portugal quando o Sol já estava baixo. Perto da Islândia, a totalidade durou pouco mais de dois minutos; na Espanha, ficou perto de um minuto.
Pessoas foram a morros, praias, telhados e estacionamentos para observar o eclipse, usando os óculos de proteção antes e depois do breve período de totalidade. Muitos celulares também foram apontados para o céu, mas fotógrafos repetem há décadas que a imagem raramente reproduz a experiência daquele momento.
O evento está documentado: a página da Wikipédia sobre o eclipse solar de 12 de agosto de 2026 mostra o trajeto pelo Ártico, Groenlândia, Islândia e norte da Espanha. Os guias públicos de eclipse da NASA explicam por que a totalidade parece tão grande a olho nu, mas costuma ocupar pouco espaço na fotografia.
A principal lição é sobre luz: a Lua é iluminada pelo Sol, e o albedo de sua superfície, a fração de luz refletida, é maior do que uma cena noturna sugere. Quando a câmera mede a exposição pelo céu escuro, o disco pode perder todos os detalhes e virar uma área branca. Fotógrafos tratam isso como um problema de exposição: é preciso priorizar a Lua ou a paisagem.
As fotos do eclipse ficaram para trás, mas os mesmos problemas de exposição voltam sempre que você aponta o celular para a Lua ou inclui o Sol no enquadramento. O disco pode aparecer como uma área branca sem textura, enquanto o restante da cena fica escuro demais.
A Lua é mais clara do que parece
Se você já apontou o celular para a Lua e obteve apenas uma mancha branca, isso aconteceu porque o satélite é iluminado diretamente pelo Sol. Ao medir a grande área escura ao redor, a câmera costuma clarear a cena inteira, superexpor o disco e apagar as crateras.
Dá para fotografar, desde que você pare de tratar isso como foto noturna. O sensor está tentando clarear o preto, e o disco claro é o que deveria mandar na exposição.
Na hora da foto, coloque a Lua no meio do quadro e toque sobre o disco para ajustar o foco, evitando árvores e telhados. Depois reduza bastante a exposição: no celular, geralmente basta tocar a Lua e arrastar o ícone de sol para baixo até que os detalhes apareçam na prévia.
Você tem de escolher uma coisa
Esse é um limite conhecido da fotografia noturna: nem sempre o sensor consegue registrar ao mesmo tempo as crateras da Lua e os detalhes de uma cidade escura. É preciso escolher qual parte da cena terá a exposição correta.
Se quiser registrar as crateras, ajuste a exposição para a Lua e aceite que morros, água e cidade ficarão escuros ou até desaparecerão. A prioridade, nesse caso, são os detalhes da superfície lunar.
Se quiser o lugar, exponha para o lugar, e a Lua vira um ponto claro, um pouco embaçado, o que também está certo. Ninguém olha a foto e acha que é um poste: entendem que aquele brilho é a Lua, e você está mostrando onde estava de pé, não escrevendo um relatório de geologia lunar.
Escolha a prioridade antes de fotografar, porque a edição só consegue trabalhar com as informações registradas. Ela não recupera crateras ausentes em uma área superexposta nem detalhes da paisagem perdidos em sombras totalmente escuras.
Se você foi atrás das crateras
Mesmo uma foto da Lua bem exposta pode mostrar o disco sem muita textura. Alguns ajustes ajudam, mas são diferentes dos usados em retratos: rostos costumam pedir sombras mais claras, enquanto as crateras ganham definição com sombras mais profundas.
Reduza bastante as altas luzes para recuperar detalhes no disco e acrescente um pouco de contraste. Em seguida, escureça as sombras com cuidado, porque são elas que dão definição às crateras; aumentar as sombras como em um retrato pode deixar a Lua com aparência plana.
A Lua cheia costuma mostrar menos relevo porque a iluminação frontal reduz as sombras da superfície. Nas fases em que parte do disco permanece escura, a luz lateral destaca melhor crateras e irregularidades.
Se a prioridade for a paisagem, aceite que a Lua pode aparecer apenas como um pequeno ponto claro. Tentar recuperar detalhes em uma área totalmente superexposta costuma criar manchas sem informação real.
Céus fazem a mesma coisa
Céu claro tem o mesmo hábito: nuvens perdem a borda, e o Sol, ou até uma tarde pálida, vira um buraco na foto. Você não precisa de um filtro especial de céu, precisa de menos brilho, porque o problema é exposição, não falta de efeito com nome poético.
Reduza as altas luzes até as nuvens recuperarem forma, acrescente um pouco de contraste se o azul ainda parecer desbotado e preserve as áreas escuras. Se o arquivo tiver uma região totalmente branca, nenhum controle recuperará os detalhes perdidos, mas muitas fotos noturnas melhoram apenas com a redução das altas luzes.
Depois abra Efeitos
Esses três movimentos ficam em Efeitos e filtros se você quiser testar num arquivo: altas luzes para baixo, contraste um pouco para cima e sombras para baixo nas crateras. Pule o preset noturno com nome dramático, porque ele foi pensado para outra cena.
- Altas luzes para baixo. Para a Lua e para céus claros, seja mais corajoso do que num retrato.
- Contraste um pouco para cima, e pare quando as bordas ficarem nítidas.
- Sombras para baixo se você queria crateras. Para cima só se um telhado na paisagem caiu num buraco que você não quis.
Um toque de nitidez ajuda borda de cratera e borda de nuvem, e depois pare: se começar a parecer cartaz, você foi longe demais. O quarto movimento já está pedindo pôster, não foto.
Como eu termino o arquivo
Eu escolho na hora a pedra ou o lugar, e não tento as duas coisas no mesmo quadro para depois pedir milagre ao editor. Se fui de crateras, baixo altas luzes, subo um pouco o contraste e escureço sombra, e se fui de paisagem deixo o pontinho da Lua quieto.
Eu não aplico um filtro chamado “noite dramática” numa foto da Lua, porque esse preset foi feito para rua molhada, não para um disco de pedra. Três movimentos bastam, e o quarto já é pôster.
Se a foto do eclipse mostra apenas um anel branco em um céu preto, aceito a limitação do arquivo, porque o sensor não registrou toda a variação de luminosidade. Em outra noite, é possível fotografar a Lua novamente com uma exposição mais adequada.
O eclipse não volta esta noite, mas a Lua volta. Antes de fotografar, decida se quer mostrar os detalhes da superfície lunar ou preservar a paisagem com o disco luminoso. Depois, use os controles apenas para concluir o ajuste.